Body Pillows


Snoogle® Family
Back 'N Belly® Family
Sleeper Keeper® at Walmart
Dual Front and Back Support
Full-length Body Support
Baby & Child


Child
Cart Cover
Covers


Body Pillow
Accessories

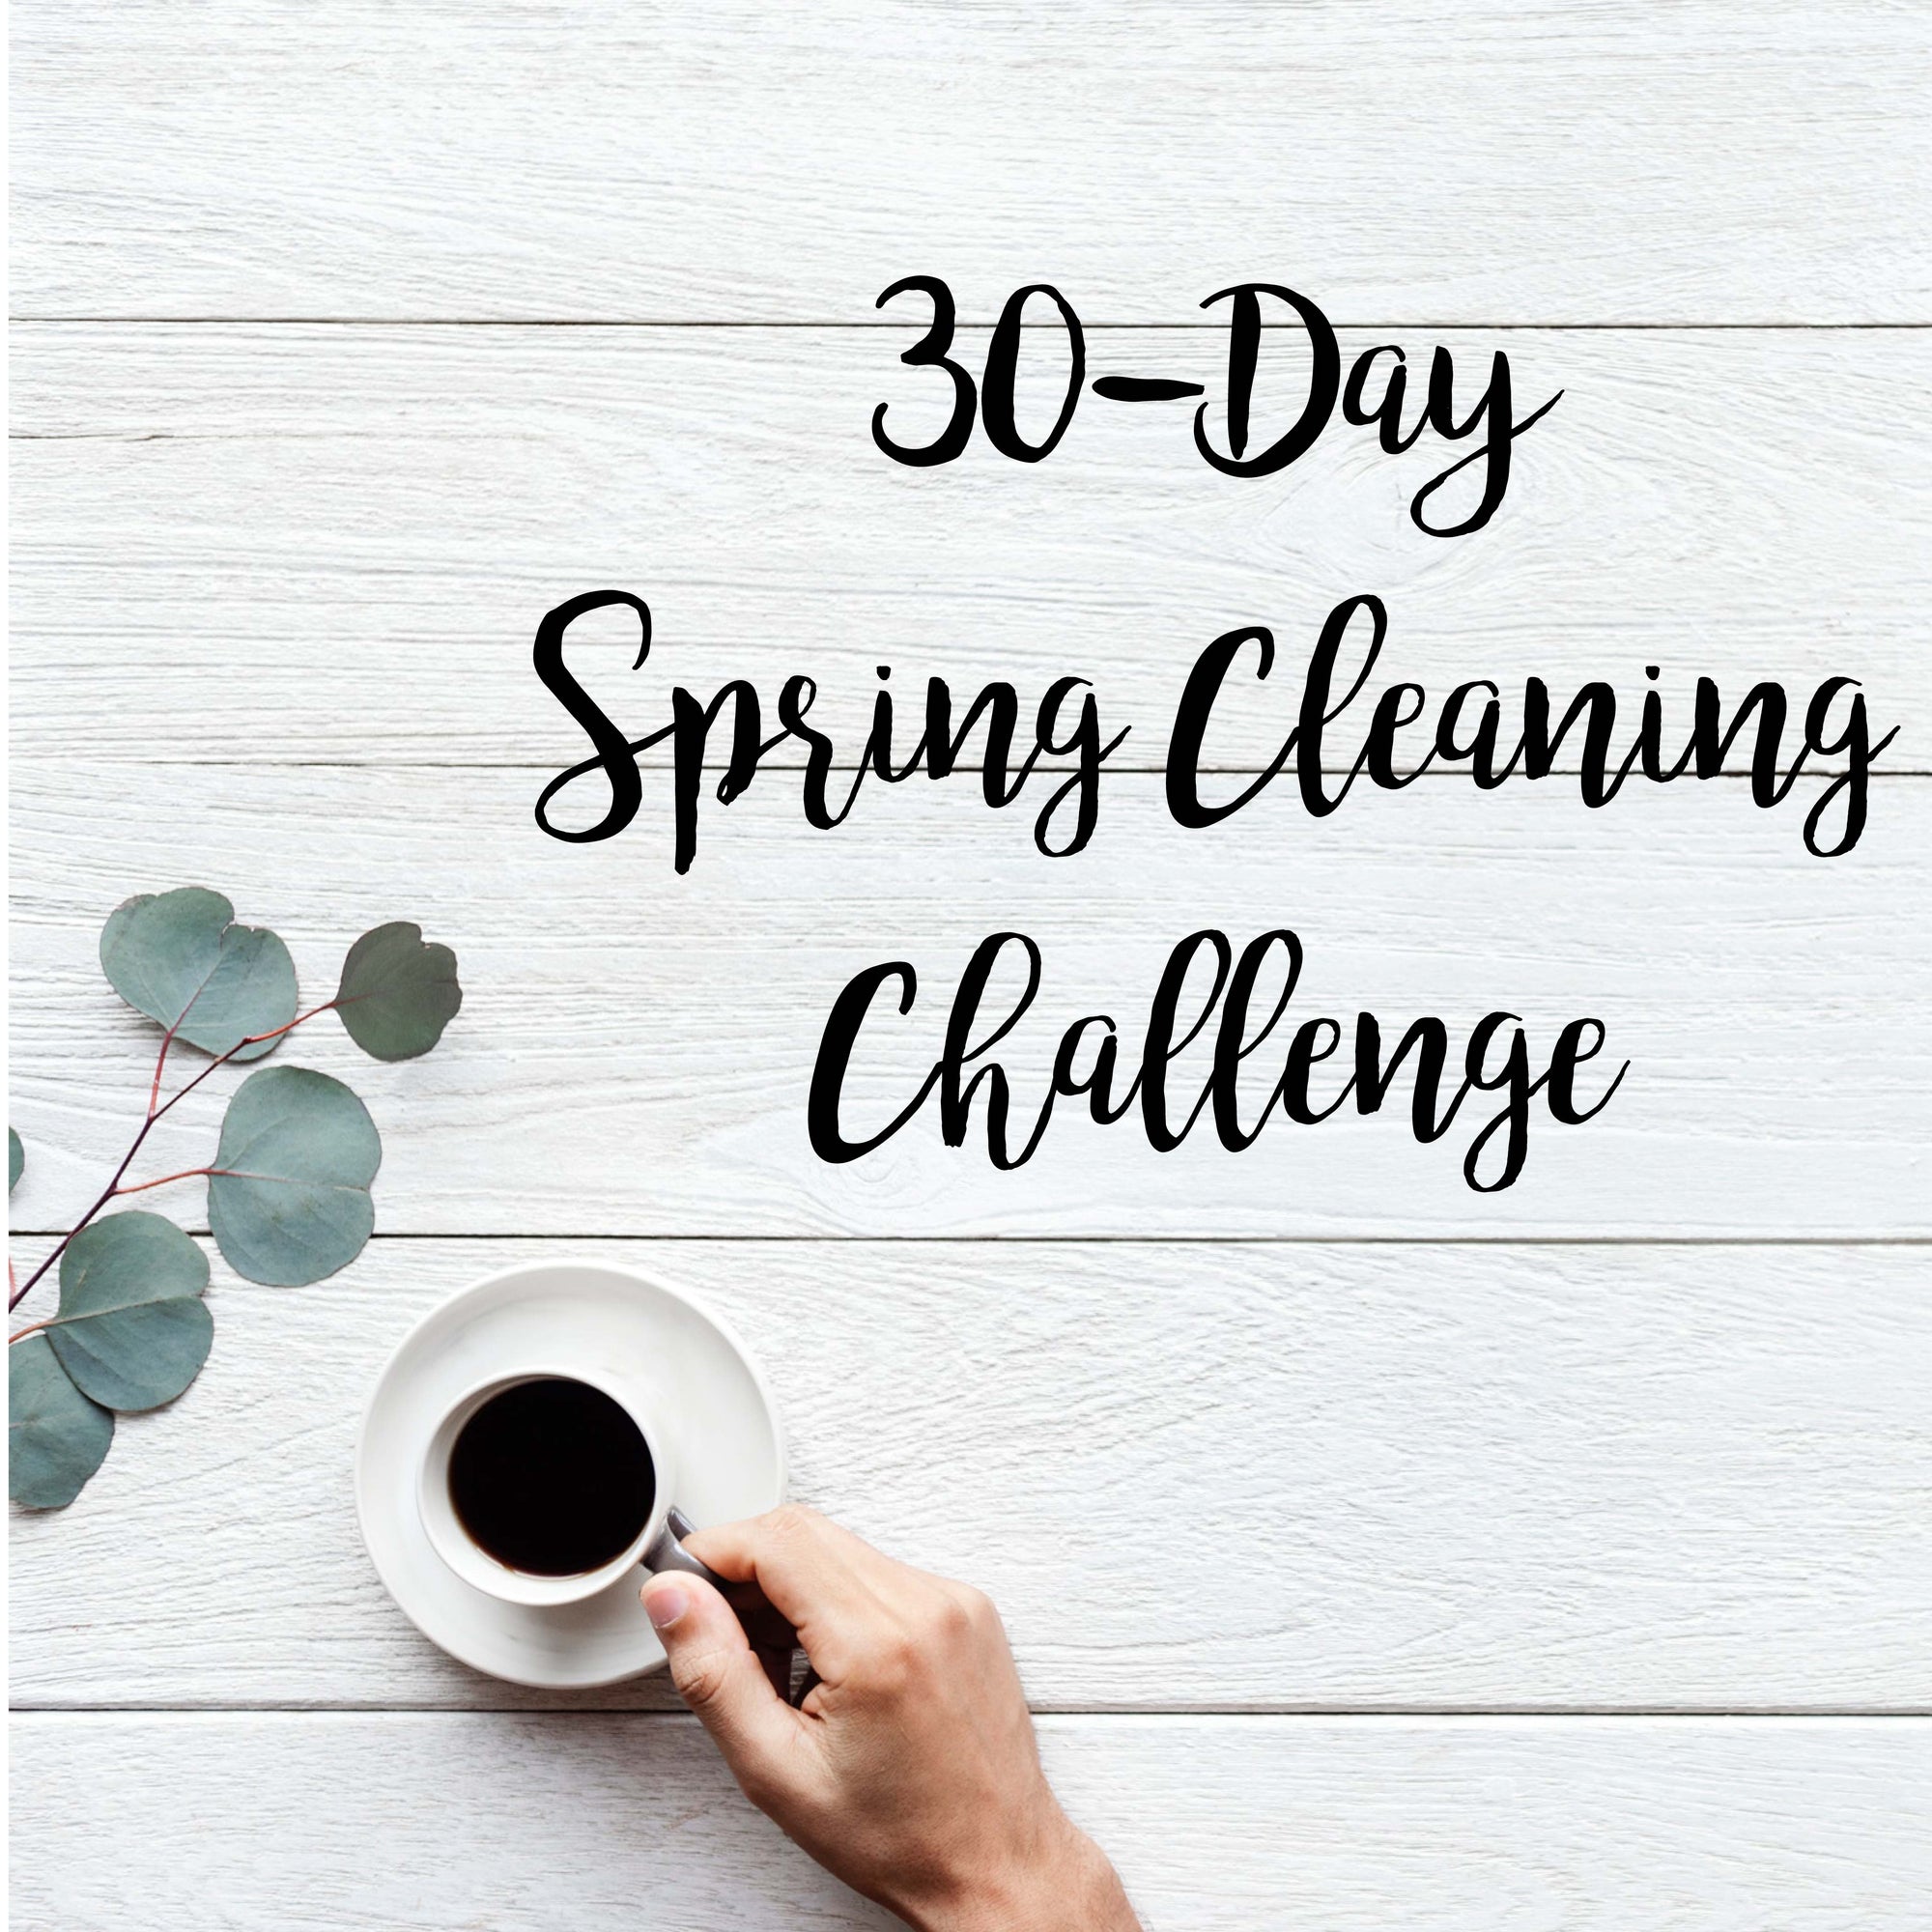
Spring Cleaning 30 Day Challenge
To celebrate the arrival of SPRING we are having a Spring Cleaning 30 Day Challenge!! We will be posting the daily challenge here on our blog along with posting it on our Instagram Stories. Be sure to follow us on Instagram so that you do not miss out!!
Day 1 Print Calendar
Day one's challenge is to like us on Instagram and to download our free printable "30-Day Spring Cleaning Challenge" form below:

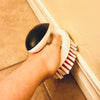
Day 2 Baseboards
For day two's challenge, we are tackling the baseboards in our homes. When was the last time that you paid attention to these? Today is the day that we are going to get these cleaned!!
Here is a three-step process to help get baseboards clean and help keep them clean.
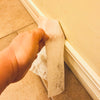
 STEP 1) Brush off all the dirt that is currently on the baseboards with a brush.
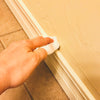 STEP 2) Use one of our favorite cleaning tools, a cleaning eraser sponge. Dampen the sponge and wipe the baseboards clean.
 STEP 3) After the baseboards have dried, take a dryer sheet, and wipe down the baseboards. This will help repel dirt and static but it will also put a coating on the area so that dust, pet hair, and more just fall right off.
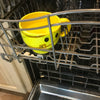
Day 3 Dishwasher
Day 3 we are tackling the dishwasher!!! You do not want to clean your dishes with a dirty dishwasher.
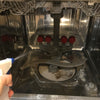 Remove the bottom rack from the dishwasher. Spray the inside with vinegar and give the interior a good scrub be sure to also clean the rubber seal around the dishwasher door as well, using a soft toothbrush or cloth. Be sure to be gentle to not damage the seal.
 Clean the holes to the spinning spray arm using a toothpick, tweezers, soft toothbrushes, or cotton swabs to remove any debris that has built up in the holes. Clean your filter by soaking it in soapy water for at least 10 minutes.
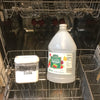 Pour one cup of white vinegar in the bottom of the dishwasher. Sprinkle baking soda, with an optional three drops of your favorite essential oil on the bottom.
 Pour 1 1/2 cups of vinegar into a cup on the top rack of your dishwasher. Run your dishwasher on a high temp light cycle.
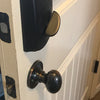
Day 4 Light Switches • Handles • Doors
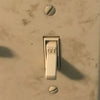 Light switches and door handles are one of the most touched items in our houses. Day 4 we are going to get these nice and clean.
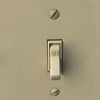 Using a disinfecting wipe is great for light fixtures and door handles. Using a cleaning eraser sponge also does a great job to get these clean.
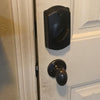 Another part of the house we are tackling for day 4 is our doors!! There tend to be certain areas that get a little more handprints and smudges than other areas of our homes. Take your cleaning eraser sponge and let’s remove those smudges.
 This day’s challenge is a great one to get our little’s involved in the spring challenge as well.
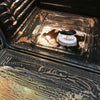
Day 5 Oven
For Day 5 we are tackling the inside of our ovens. There are a few different ways of cleaning your oven.
1) Self Cleaning - Most newer models have a self-cleaning option. The bonus of this is that it is fairly easy and is a little effort. The downside is that it gets the house really hot and a little smelly.
2) Baking Soda - For a cleaning method that is chemical-free and a way to use products that you most likely already have in your kitchen, the baking soda method is a way to go. Somewhat Simple and Chaching Queen have great blogs that have a step by step way to get your oven cleaning using this method.
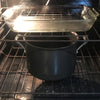
3) Ammonia - This is another method that uses ingredients that you may have in your home is by placing a pot of boiling water under a baking dish full of ammonia in your oven that was preheated, turned off and soaked overnight. For a great step by step visit One Good Thing by Jillee.
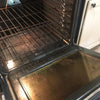
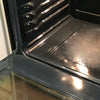
This is also a great time to pull out your oven to clean underneath the oven. Think of the long lost treasures you may find.
Day 6 Catch Up
Day 6 is the day to catch up on any challenges that you were not able to get to this past week.
Day 7 Rest Day
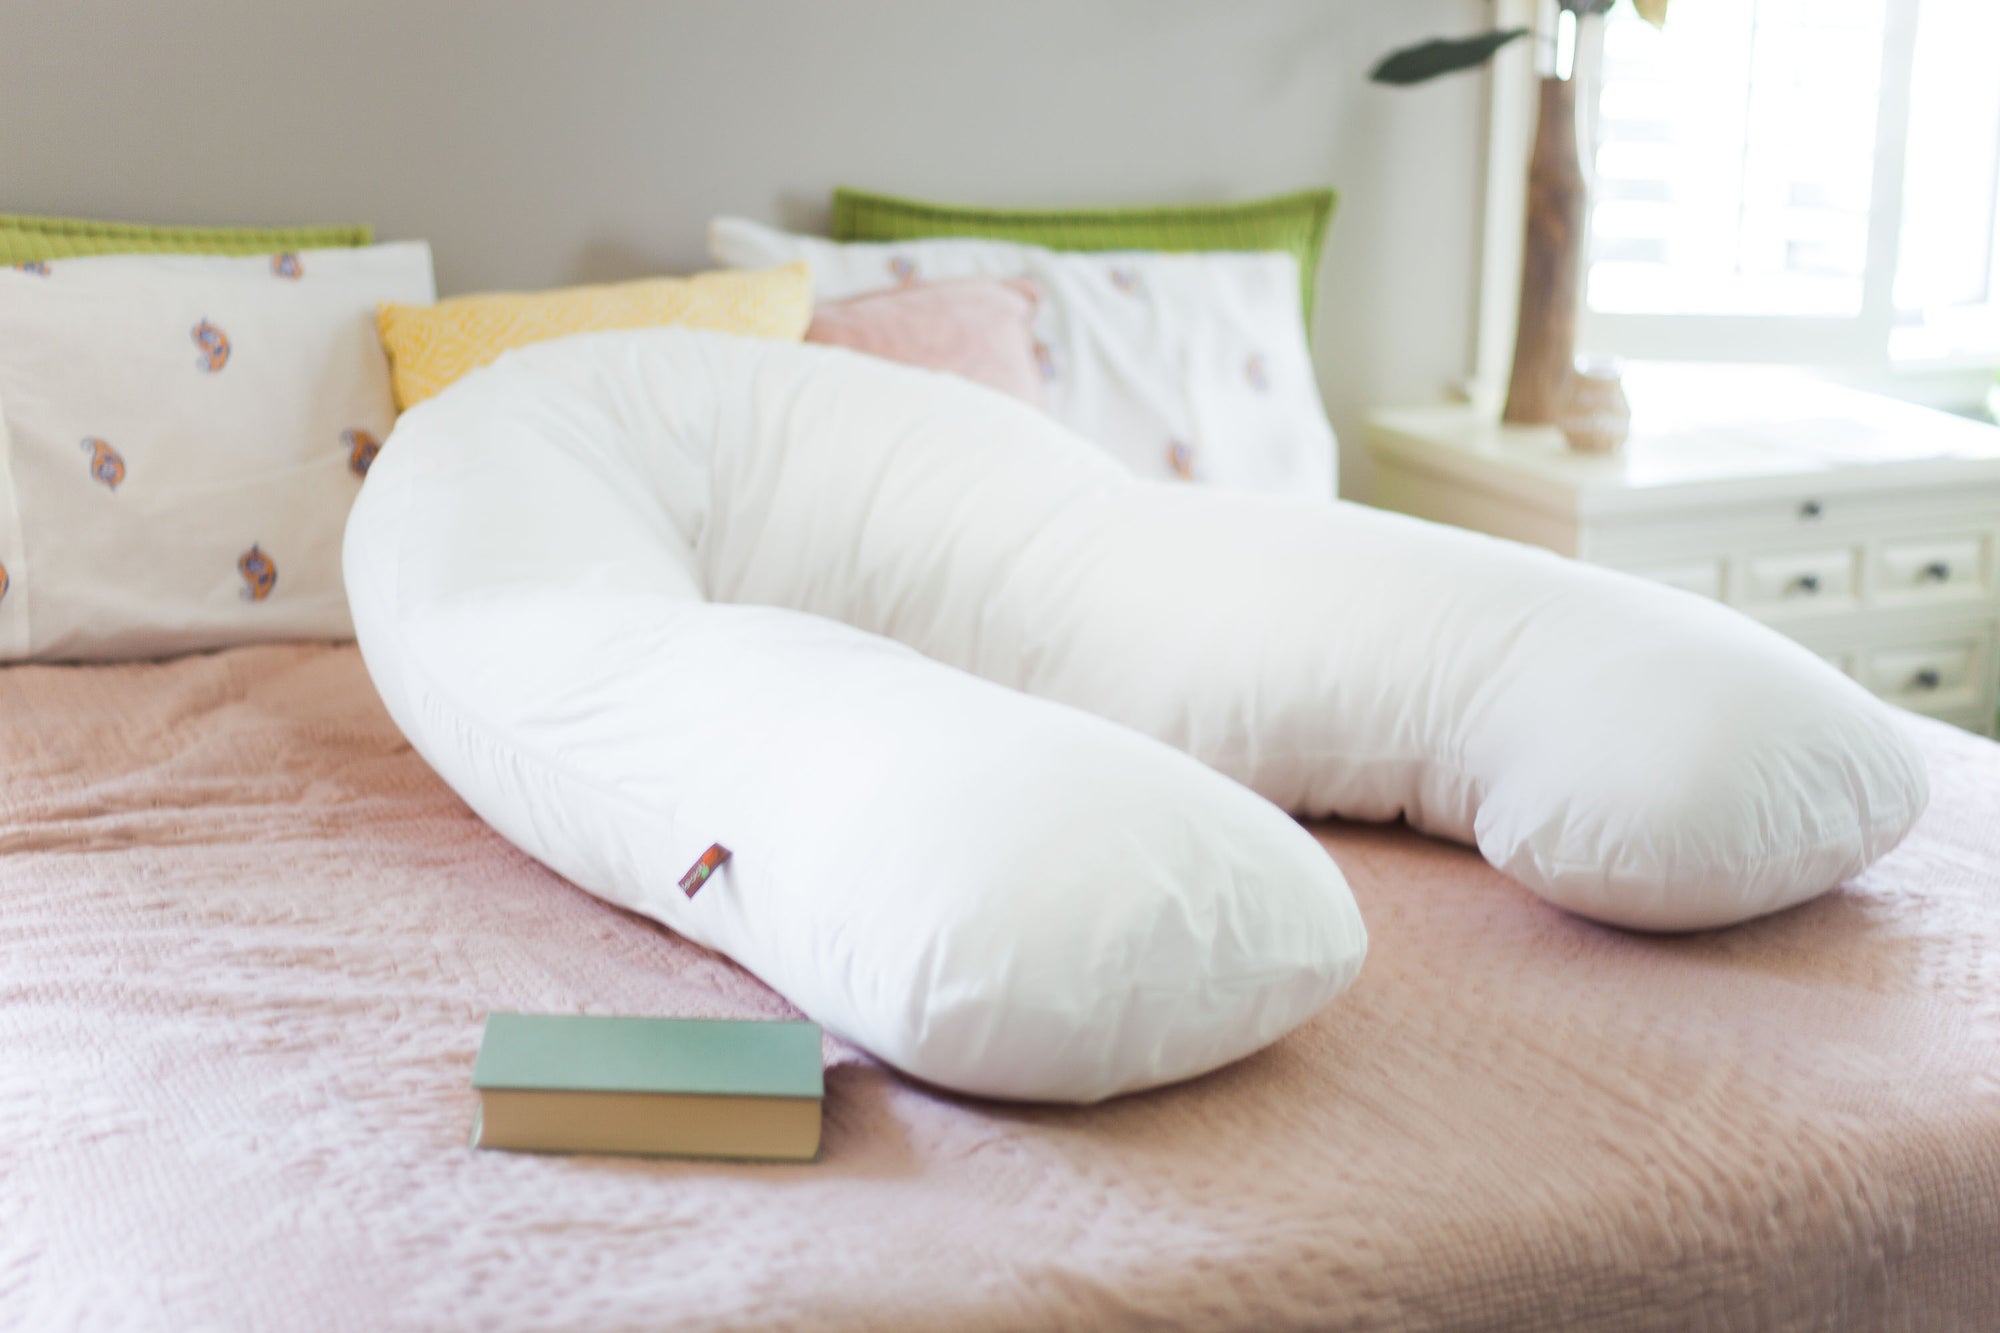
We believe a day of rest is good for your body, mind, and soul. Use this day to cuddle up with one of your favorite Leachco body pillows. Have a day of rest from our 30-Day Spring Cleaning Challenge!!
Day 8 Light Fixtures
For day eight we are going to deep clean our light fixtures. For this day we are going to need a ladder or stool. (Please be safe whenever using a ladder or stool to reach items that are not in an arm's length.)
We are going to first unscrew the glass light fixtures. Wipeout all little buggies that have been attracted to the light source. To do a deep clean we are going to gently place our glass light fixtures in a bathtub of soapy water (another suggestion was to place them in a bath with a denture cleaning product) and let them soak for a good fifteen minutes.
After soaking give each glass fixture and good rubbing with a gentle cloth to remove any dust and grime that may have collected on them over time.
Be sure to let the fixtures completely dry before replacing them.
One Good Thing By Jillee has a great article to help with today's challenge.
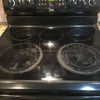
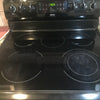
Day 9 Stovetop • Range Hood
For day nine we are cleaning the dreaded stovetop and range hood. Here are some great suggestions for various stovetops:
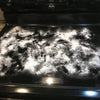
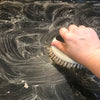
Cleaning Glass Stove Top For this method we are going to use hydrogen peroxide and baking soda. We first squirt hydrogen peroxide onto the glass service and then sprinkle baking soda on top of that. Using a brush, mix it all together and give the stovetop a good scrubbing. Take a damp paper towel and wipe the mixture off.
Cleaning Top Burner Grates For this method we are going to use a baking sheet, ammonia, and a gallon size freezer bag. Due to the ammonia, please do this in a well-ventilated area. Place the grate into a gallon-size plastic bag, then add 1/4 cup ammonia.Seal the bag and put it on the baking sheet, which catches any drips. Do this for each grate, and let them sit overnight.
Cleaning the Stove Hood One way to tackle the top of the stove hood is to use oil to clean oil. Mineral oil is a good choice for this method. If you can not find mineral oil a vegetable oil will also work. Place a few drops of oil on a clean cloth and wipe the oily mess off.
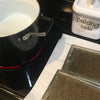
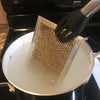
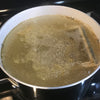
Cleaning Stove Vents For this method you will need a large stainless steel pot of water and baking soda. Bring the pot of water to a boil. Sprinkle enough baking soda to where the water is fizzing. Using tongs, place your filter into the pot and let it soak for 60 seconds. Remove from the pot using the tongs and let dry on a paper towel or cloth.
Day 10 Windows • Window Treatments
For day ten we are cleaning our windows and window treatments. Over at "One Crazy House," they have 16 window cleaning tips: For cleaning the blinds, basic window cleaning solution, window tracks, mold on window sills, de-fuzzing your window screens, and using Rain-X to keep windows clean for an extended period of time.
Over at The Maids they have a great article about "How To Clean Window Sills and Window Tracks" with instructions on how to clean wooden window sills (painted or varnished), how to clean plastic window sills, and how to remove mold from a window sill as well.
Day 11 Refrigerators
For day eleven we are going to clean out our fridges. A great 20-minute refrigerator clean and disinfect can be found at "The Pragmatic Parent"
Step 1) Remove Everything from Fridge
Step 2) Wash Down Every Surface
Step 3) Wash Outside and Seal
Step 4) Put Everything Back
Day 12 Ceiling Fans
For day twelve we are dusting our ceiling fans. Here are a few different methods for getting these clean:
1) For a thorough dusting and cleaning, you will need a step stool or ladder, damp cleaning cloth, a fabric softener sheet, household cleaner, furniture polish, and a vacuum.
2) Using a ceiling fan duster. Here is a great one that we found on Amazon.
3) Slide a pillowcase over each fan blade individually, and use your hands to press the fabric against the top and bottom of the blade.
4) Wrap a dryer sheet around a clean painting roller and secure the ends with rubber bands. Attach an extension handle to the roller and dust away.
Day 13 Catch Up
Use day thirteen to catch up on any of the challenges from the past week that you may have not gotten to.
Day 14 Rest Day
For day fourteen we are using our rest day to catch up on our favorite movie or shows. Have a day of rest from our 30-Day Spring Cleaning Challenge!!
Day 15 Kitchen Sink
For day fifteen we are going to do a deep clean on our kitchen sinks.
Step 1) First thing to do is give your sink a thorough rinse with hot water.
Step 2) Next sprinkle the entire sink with baking soda. Then put a small amount of liquid dish soap on a sponge or rag. Scrub your sink in circular motions and get your sink nice and sudsy. Rinse with hot water.
Step 3) Take a few vinegar-soaked paper towels and place them around your faucet and entire sink and let it sit for 15-20 minutes. Then use your vinegar-soaked paper towels and rub down your faucet and around your sink edges. For faucet and sink seams, you may want to use a cleaning toothbrush soaked in vinegar to get every crevis clean as well.
Step 4) We are now going to deodorize and clean the disposal and pipes to the sink. Be sure to flip the rubber part of your garbage disposal up and clean underneath with a cleaning toothbrush. There may be hidden food particles there that we want to remove. Then sprinkle some baking soda down the drain and follow with pouring white vinegar down the drain as well. The chemical reaction between the two will start will create cleaning bubbles. This will help to clear out any food debris or any other gunk that has been hiding in your pipes.
Step 5) Do a final hot water rinse to get your sink clean and deodorized!!
Day 16 Air Vents
For day sixteen we are going to be getting our air vents cleaned. Here are a few steps to cleaning them in a bathtub:
Step 1) Turn off your HVAC system.
Step 2) Remove all floor, ceiling, and air return vents.
Step 3) Put them all in the bathtub in warm water. Add a few drops of dish soap to the water and let the bubbles build up. The dish soap will help cut in grease and grime that has built up on the vents. Let the vents soak for about 10 minutes.
Step 4 ) Using a scrub brush, give each vent a good washing. Be sure to scrub both sides.
Step 5) Drain the bathtub and then rinse each vent under warm water.
Step 6) Shake off any excess water and lay vents out to dry on a towel until completely dry.
Day 17 Pantry • Cupboards
For day seventeen we are cleaning out our pantry and cupboards. How long has that can of chicken noodle soup been sitting in your pantry? Check the expiration dates on every food item in your pantry. Throw away the old the food, and organize the rest of the items in your pantry with these hacks.
Day 18 Dining Room Chairs
For day eighteen we are going to wipe down our dining room chairs. When was the last time you looked at the legs of your dining room chairs? Now is the time to get out your cleaning eraser sponge and give your chairs a good cleaning.
Day 19 Small Appliances
For day nineteen we are going to give our small appliances a good cleaning. What appliances do you have on your kitchen counters? We seem to accumulate an assortment of various small appliances that tend to get overlooked as we clean our counters in the kitchen. Today is the day to focus on our toasters, toaster ovens, coffee makers, blenders, mixers, instant pots, crackpots, and any other small appliance that takes up residence on our kitchen counters. Martha Stewart has some great ideas on how to get these clean!
Day 20 Catch Up
Use day twenty to catch up on any of the challenges from the past week that you may have not gotten to.
Day 21 Rest Day
For day twenty-one we are using our rest day to catch up on our favorite book. Have a day of rest from our 30-Day Spring Cleaning Challenge!!
Day 22 Kitchen Drawers • Cabinet Doors
For day twenty-two we are going to clean our kitchen drawers and cabinet doors. To get the kitchen cabinet doors clean we will be using our cleaning eraser sponges. Be sure to get them damp and give each door a good scrub down.
To get the drawers clean:
1) Pull everything out.
2) Vacuum any crummies may have accumulated over time.
3) Wipe down the inside, front, and sides of each drawer with a cleaning solution and kitchen towel or a disinfecting wipe.
4) A great way to freshen up the look of your drawers is to place a decorative shelf lining in the drawer before placing the items back in.
5) If your drawers are not organized in an effective way, this is a great time to use drawer organizers to give more usability to your kitchen drawers.
6) Put everything back.
Day 23 Bedding • Pillows • Mattress
For day twenty-three we are cleaning our bedding area. Our first area for our bed that we are going to clean is our bedding. Be sure to get all blankets and comforters clean. If your personal washing machine and dryer do not have the load capacity to fit your bedding, it is time to take a trip to your local laundry mat to use one of the large capacity machines.
The second area we are going to focus on is our pillows. Be sure to check care labels to see if your pillows are machine washable. If they are, toss two pillows (depending on the size of your machine) in your washer with your detergent, washing soda (to help remove any stains), and a few drops of lavender essential oil (optional). When the washing cycle is complete, place the pillows in the dryer on low heat for a full cycle. This will dry and fluff your pillows and help restore them to their original shape.
The third part of our bedding area that we are going to tackle is our mattresses. To clean your mattress you will need a few things:
3 Tablespoons Baking Soda
8 ounces Hydrogen Peroxide
1 drop Dish Soap
Large Spray Bottle
Step 1) Vacuum the mattress
Step 2) Mix ingredients in a spray bottle (use right away)
Step 3) Spray mixture on a bed and allow to sit until dry
Step 4) Once the bed is completely dry, vacuum
Step 5) Enjoy your clean bed
This is also a good time to flip/turn your mattress.
Day 24 Trash Cans
For day twenty-four we are cleaning out our trash cans. Supplies that you will need are:
Baking Soda
Dish Soap
Vinegar
Brush Scrubber
Dish Soap
Vinegar
Brush Scrubber
Step 1) Clean out your trash can of any small items that may have collected on the bottom.
Step 2) Spray down the inside of the trash can with some water. (This is something that can be easier to do with a garden hose or a handheld shower sprayer)
Step 3) Add dish soap and vinegar to the inside of the trash can. Use the brush to scrub all around the can.
Step 4) When you finish scrubbing, rinse the trash can with water. Give it another scrub to make sure you have everything clean and scrubbed off. Then rinse it one more time. If your trash can was really dirty, to begin with, you may need to repeat these steps again.
Step 5) Let trash can dry or add a little bit of baking soda and dry the trash can. When the can is completely dry you can dump all of the baking soda from the bottom of the can.
Day 25 Microwaves
For day twenty-five we are cleaning our microwaves. Grab a microwave-safe bowl from your pantry or an angry momma cleaner and fill it with 1/2 cup of water, 1/4 cup of white vinegar, and a few drops of lemon essential oil. Set it inside of your microwave, and let it run for three minutes. After the timer goes off, wait for another two to four minutes before opening the door and removing the bowl — it'll be hot! Then, grab a paper towel and wipe up the loosened gunk from all sides of the microwave, including the door.
Day 26 Closet Shelves and Floors
For day twenty-six we are cleaning out our closet shelves and floors. Here are five steps to help clean out your closets.
Step 1) Take everything out. Take out every single item in your closet and put it into a large pile so that you can see how much you actually have.
Step 2) Ask the tough questions: Does it fit? Have I worn this in the last twelve months? Is it likely I will ever wear this again? Is this currently in style, and or does it actually match my style? If this is damaged in any way, will I actually make the effort to get this repaired? If I was shopping right now, would I buy this? Do I feel confident when I wear this?
Step 3) Keep, toss, or donate. Have three distinct piles. One that you are going to keep, one that goes into a bin or box that will be donated, and one that goes straight into a trash bag (these are for clothes that are damaged or stained). Be sure to actually throw away your trash bag and immediately donate your giveaway items. Be sure to not let them sit in your car for months.
Step 4) Organize what's left. Find the right method that works for you. The Krazy Coupon Lady has some great ideas on how to get your closet organized and clutter-free.
Day 27 Catch Up
Use day twenty-seven to catch up on any of the challenges from the past week that you may have not gotten to.
Day 28 Rest Day
For day twenty-eight we are using our rest day to have a "Me Day". Have a day of rest from our 30-Day Spring Cleaning Challenge!!
Day 29 Under Beds/Dressers
For day twenty-nine we are going to clean out what is under your beds and dressers. Oh, the treasures you may find. How many missing socks will you discover? Home Storage Solutions has a great method for cleaning out under your beds/dressers. They state that there are three main categories of things you'll find under a bed:
1) Things you've stored there.
2) Surprise items you've assumed were lost, and somehow accidentally have gotten under the bed. (Or things your child has shoved under there when "cleaning up" but that you wouldn't want to be there.)
3) Dust bunnies, cobwebs, and other items that need to be cleaned up.
2) Surprise items you've assumed were lost, and somehow accidentally have gotten under the bed. (Or things your child has shoved under there when "cleaning up" but that you wouldn't want to be there.)
3) Dust bunnies, cobwebs, and other items that need to be cleaned up.
After you've decluttered and cleared out everything underneath your bed, and before you put back anything under there you've decided to store in that space, it's a good idea to clean under your bed.
To clean underneath the bed itself isn't difficult in one sense, and in another, it's a big pain (which is why we don't do it too often).
Vacuuming is the best way to remove dust from your home, on either carpet or hard surface floors (for hard surfaces just make sure you're using a vacuum that is safe, and non-damaging for that floor surface). However, the bed is quite low, and so it can be difficult to reach under there with the vacuum to adequately vacuum the floor. The best way to deal with this issue is to move your bed, vacuum, and then move the bed back into place. That is often easier said than done as well though because beds (and mattresses) can be quite heavy and cumbersome to move if you don't have strong help. Due to this, other ways to reach under the bed without moving it include using the attachment of your vacuum to reach farther under there, using a broom or dust mop to sweep much of the dust out from under the bed to then vacuum up (which works best for hard floor surfaces, not for carpet), or to get a smaller stick vacuum or robotic vacuum which can reach into these lower clearance spaces.
Day 30 Couch Cushions
For our final day in the spring cleaning challenge, we are taking on our couch cushions. Over at "Of Life and Lisa" they have 6 ways to getting your couches clean:
1) Soak stains in hydrogen peroxide
2) Use rubbing alcohol to clean your sofa
3) Use shoe polish to cover scratches in leather furniture
4) Use olive oil to recondition dry and cracked leather furniture
5) Use fabric to hide irreparable damage to your furniture
6) You can always paint your couch if all else fails
How did your "30-Day Spring Cleaning Challenge" go? Were you able to keep up every day? Do you use the catch-up days? We hope this challenge has helped make your life a little easier!